Showing posts with label Halloween. Show all posts

Monday, November 2, 2009

Toad and Toadette Halloween

IMG_0737

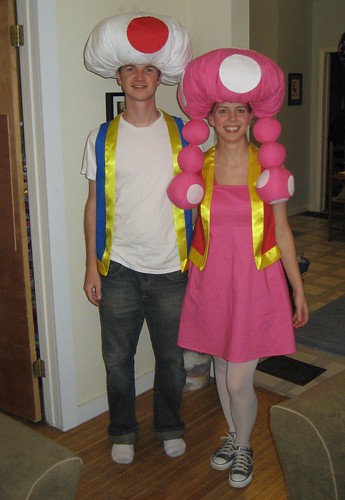
Things have been quiet on the blog lately since I've been busy getting our Halloween costumes done and then having fun wearing them out! Jon and I went as Toad and Toadette from the Mario Kart and Mario Party games and the costumes were really well received and super comfortable!! Jon wore his costume to work on Friday and wore the hat for 8 hours and it was great! I used some of the ideas I originally had, and ended up revising others. Since I had a lot of trouble finding helpful instructions, I'll give you details, but I won't be offended if you just scroll through the photos. If you have questions though, feel free to let me know!


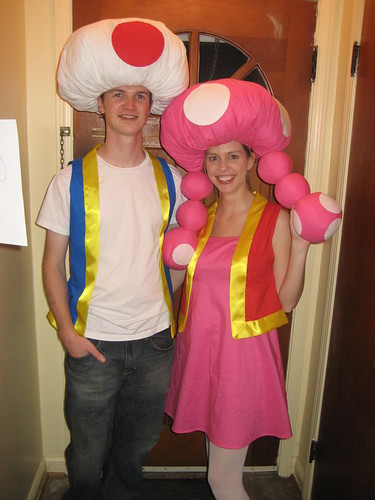
The dress went fairly well considering that I hadn't made one before. I used Simplicity 2485 and extended the bust pattern piece by about an 1.25 inches so it wouldn't be completely inappropriate for my proportions. It worked fairly well but I had some issues working out the placement of the darts since I'm clearly more busty than the model... but in the end I was happy for the experience since I want to be able to make my own dresses and shirts since I have trouble with clothing off the rack. If you use this pattern, I would definitely lengthen it, it worked out fine with shorts underneath, but it is fairly short.


IMG_0739


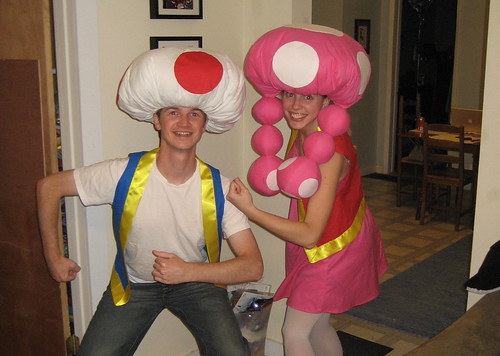
After looking around for a bunch of ideas on how to make Toad and Toadette hats and not finding many I liked, I decided to essentially make big pillows. I wished they had been smooth but this ended up being so easy for me, that I can't really complain. I made a hat using the pattern that came with the dress as a base (a store bought bucket hat would also probably work). I elongated the pieces so that the hat would be less of a beanie. To make the top, I cut a big circle (about 36" diameter) and basted around the edge. I pulled the threads on one side to gather the top, attached it to the hat and turned it right side out before stuffing it with polyfil. The circles are appliqued on my hand using Naptime Quilter's awesome circle technique since I didn't want to iron on over the gathered ripples.

For the pigtails I use the tutorial for cloth balls from Grand Revival. I used the biggest and smallest sizes. I was actually able to use fusible web to iron on the dots to the pigtails. I had no idea that would work as well as it did since I couldn't really press hard since the pigtails were basically pillows.


IMG_0753


The vests were done by tracing the back of a t-shirt and cutting 2 of them. I cut one of those in half and sewed it together at the shoulders. I did the rest of the fitting by trying it on and eyeballing how to get it to look right. My vest has darts coming from the arm holes. The trim is satin blanket trim that I bought in a little package. I really didn't like working with it since it was really slippery and didn't have any give at all. You can't see it in the picture, but the trim actually gathers a bit behind the neck. If I were to do it again, I would use bias tape.


IMG_0735

P.S. If you're looking for other ideas to make these hats, popular ideas seem to include
- paper mache (which is really heavy)
- sombrero with bubble wrap and fabric over the top
- half inflated beach ball with fabric over the top
- egg crate foam to create structure inside the hat

Saturday, October 3, 2009

It really is Spooktacular!

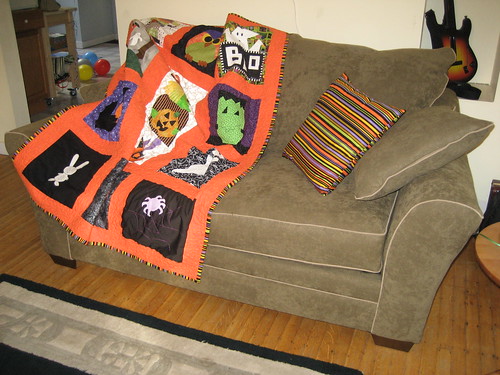
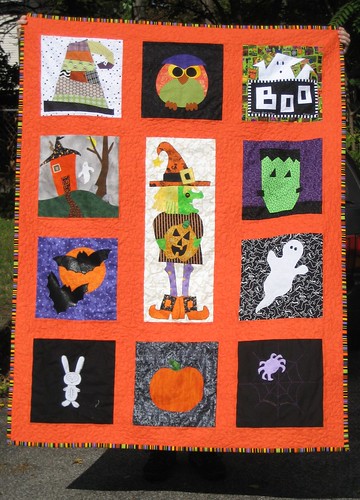
As I mentioned a while ago (here and here), I participated in Jane's Spooktacular Swap and it's been awesome. I made 12 nine patch blocks and 12 themed witch blocks and ended up with 12 different nine patch blocks and 12 different themed blocks! I also did one personal swap for the tall witch. I put my blocks together into a quilt that is 48" by 63".

Spooktacular Swap Quilt


I'm so happy with the result! How cool are all these blocks!?! There are some fabulous details like trick-or-treat in the window, the textured bats and the frankestein-like bunny. I sashed in orange in order to highlight their awesomeness and let each block have room to show itself off. The orange sashing is much brighter in person, but it's pretty awesome! You can't see in the photos, but it has a slight pattern to it so it almost looks like it has spider webs.

Spooktacular Swap Quilt


I have to thank Jennie (at Sunflower Quilts) for the great binding. When I went shop-hopping with her, she mentioned her love of stripes for bindings and when I saw this Halloween Dance stripe, I bought it and it looks great (if I do say so myself).

Spooktacular Swap Quilt


I actually free motion quilted on this one and I'm really proud of myself. My Doll Quilt Swap was the first one where I attempted an allover stipple and I'm definitely getting the hang of it. I only quilted the sashing since, again, I didn't want to take away from the awesomeness of the blocks.

Spooktacular Swap Quilt


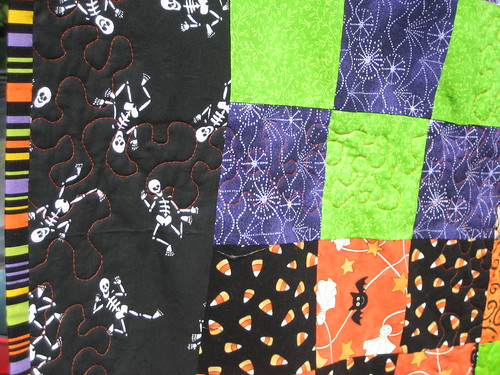
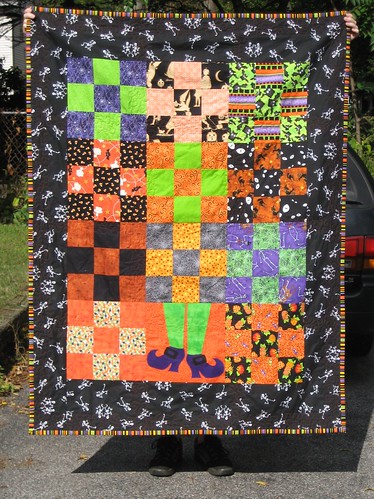
The back is bordered with dancing skeletons and Jon is especially in love with them. I also put my block on the back which Jon thinks will be funny if someone is laying under the quilt with their own feet tucked underneath. Oh yeah, we're not really adults over here, we're just big kids who have jobs... :)

Spooktacular Swap Quilt


A big Thank You to the wonderful women who made these blocks and to Jane for hosting!!

Monday, September 28, 2009

Coming soon

It's almost October so I think it's okay for me to officially announce that Jon and I are going as Toad and Toadette (from Mario Kart and Mario Party) for Halloween and I'm starting to work on costumes.


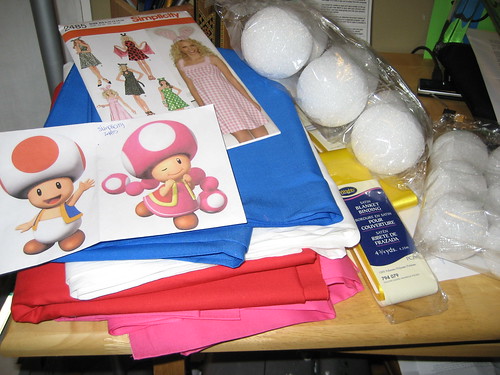
I bought all the fabric I'm going to need last weekend. I'm going to make the vests by making a pattern from a shirt and use satin blanket binding for the edging. I'm planning on making myself a basic pink dress (it'll be my first dress, but it's Halloween so I'm not too worried if it doesn't come out perfect). Has anyone tried this pattern (Simplicity 2485)? I'm a bit busty for my waist size, but I figure this pattern should be easy to alter to make it work.

Halloween costumes in progress


The hats are going to be the major challenge, and I'd love hear your ideas if you have any. My current plan is to cut a big circle and gather the edges of it. Then I'll attach the circle to a brimless hat (either from the dress pattern or a bucket hat from a store) and stuff it full. I also bought styrofoam balls for the pigtails. :)

Any ideas or advice??


P.S. Don't forget the Blogger's Quilt Festival hosting by Amy at Park City Girl. Her awesome festival last spring is what got me back into quilting and crafting.

Sunday, July 19, 2009

Witches and wonky stars

I promise I'll show some more interesting projects soon, but at the moment there are just lots of Spooktacular Witches. I figured photo of a bunch of identical blocks might be a bit boring, but you can trust they all look pretty much the same.

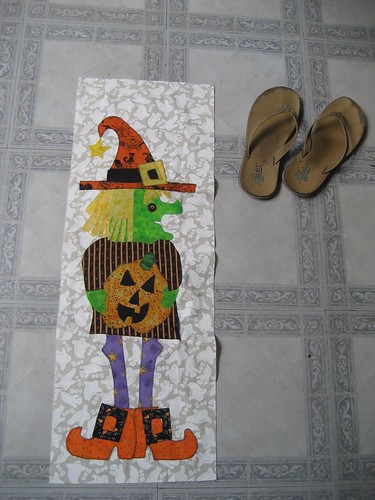
In other news though, I got an amazing witch from Deana who I did a personal swap with. She's huge and is going to be great on the pieced back I'm hoping to do on the back of the quilt!

Received from a personal swap


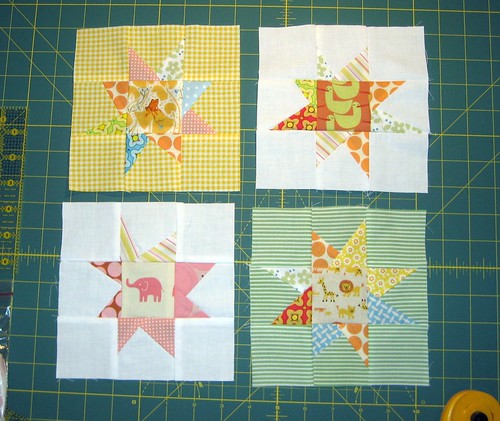
I also sent these cute wonky stars to Tacha (aka Hanies) for the Sew Kid at Heart Quilting Bee. She's doing an animal/star quilt for her daughter. I added the Lizzy House ducks since I thought they fit the theme well. I had a bit of trouble with these little ones keeping my seams an exact 1/4" but I love how they turned out and it was completely worth the trouble! They're about 6.5" square.

Tacha's Stars for Sew Kid at Heart

Wednesday, July 1, 2009

It's Spooktacular!

After seeing Angela (at My Three Sons) and Allison (at Cluck Cluck Sew) both post this morning about frustrations with tearing the paper while paper piecing, I decided I need to stop procrastinating and write this post already.

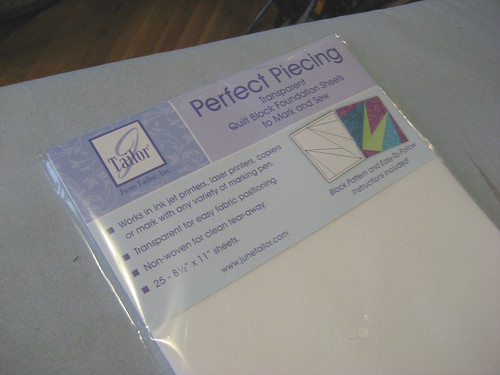
I'm going to shamelessly plug a product that I just found for paper piecing (I'm sure there are others that are just as great, and I'd love to know about them, I just happen to have used this one). I would also love your helpful hints, since there are so many great ideas floating around out there.


Paper piecing paper


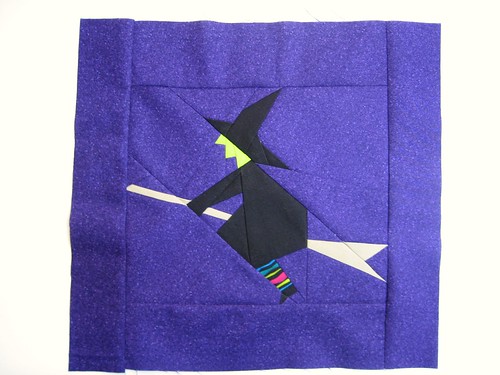
For Jane's Spooktacular Swap, I decided to do witch blocks since I love this pattern from Sonja at Artisania. I was a bit nervous because when I did the gnomes, I hated pulling the paper off and it really pulled at my stitches. I decided to just buy a pack of "Perfect Piecing" and a tablet of tracing paper from Joann's and see if either helped. I hated the tracing paper because I couldn't get it to feed into my printer (but it's been useful for other things).

I loved the "Perfect Piecing" paper! I was able to easily print on it and it perforates and tears easily. I can also use my seam ripper along the edges and it just cuts away. It also didn't pull my stitches! I did my block for Adrienne this way and this witch without too much trouble. I still have another 11 more to go, so I'm glad I found a way to do the pattern I want without ripping my hair out. :)


Witch blocks for Jane's Spooktacular Swap


I think you could also buy sew-on interfacing and cut it to 8.5x11 and it would work too. I'm going to try that next and see if I can save money that way.

p.s. Here are what my nine-patch blocks for the Spooktacular swap look like!

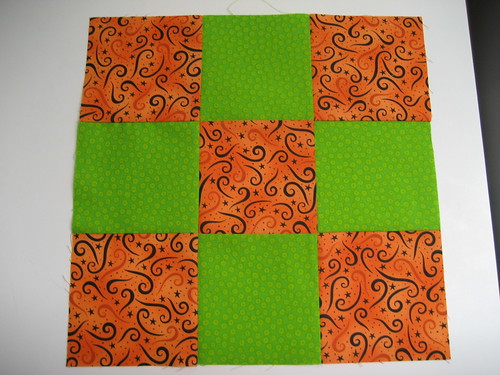
Nine patch blocks for Jane's Spooktacular Swap