Wednesday, September 10, 2014

It's a boy!


Jon and I are excited to announce the arrival of a healthy baby boy! Jacob was born on September 4th at 2:32am, weighing in at a healthy 6 lbs 11 oz. Jake has a head full of blonde hair and we think we've even spotted dimples! The three of us are doing great as we settle into our new family groove.

For more pictures, check out the ones my ridiculously talented cousin took... http://www.andreabarnesphotography.blogspot.com/2014/09/jacob-newborn.html

Friday, August 15, 2014

Burp Cloth-a-palooza

This stack of burp cloths makes me happier than is probably normal, but it's really fun to see some of my favorite stash fabrics move from a bin in the closet to an item that will be out and used.


I made 6 out of prefold cloth diapers and I just eye-balled the size of the fabric, turned under the edges and sewed it down.


For the rest, I picked up 4 soft XL shirts at Goodwill for about $4/shirt. I went with a friend and we had fun finding the biggest, softest plain shirts in the fun colors. When I got home I raided my stash for fun fabrics that I could match up with the shirts.

Using Made by Rae's tutorial, I was able to get 4 burp cloths out of every shirt--usually two that were 11x18 (from the bottom half of the shirt) and two that were a little smaller (from the top of the shirt).


I think that will be the end the baby projects for now, but I'll be back to share a final nursery update once I remember to take pictures. And who knows, I might whip up a pair of pants or two but we'll see. I'm 37 weeks and you never know when a baby will decide they're ready to come!


Wednesday, August 6, 2014

Three Kinds of Covers

I've had these projects done for a while, but kept forgetting to take pictures (duh!). Here are 3 covers I made using fabric I had sitting around in my stash. It's so nice to see them come alive in actual projects instead of sitting on the shelf. I also love how satisfying these kinds of projects are, quick with awesome, useable products.

Number 1: A Car Seat Cover/Canopy
I used the tutorial from Cluck Cluck Sew and I'm super happy with how it came out!


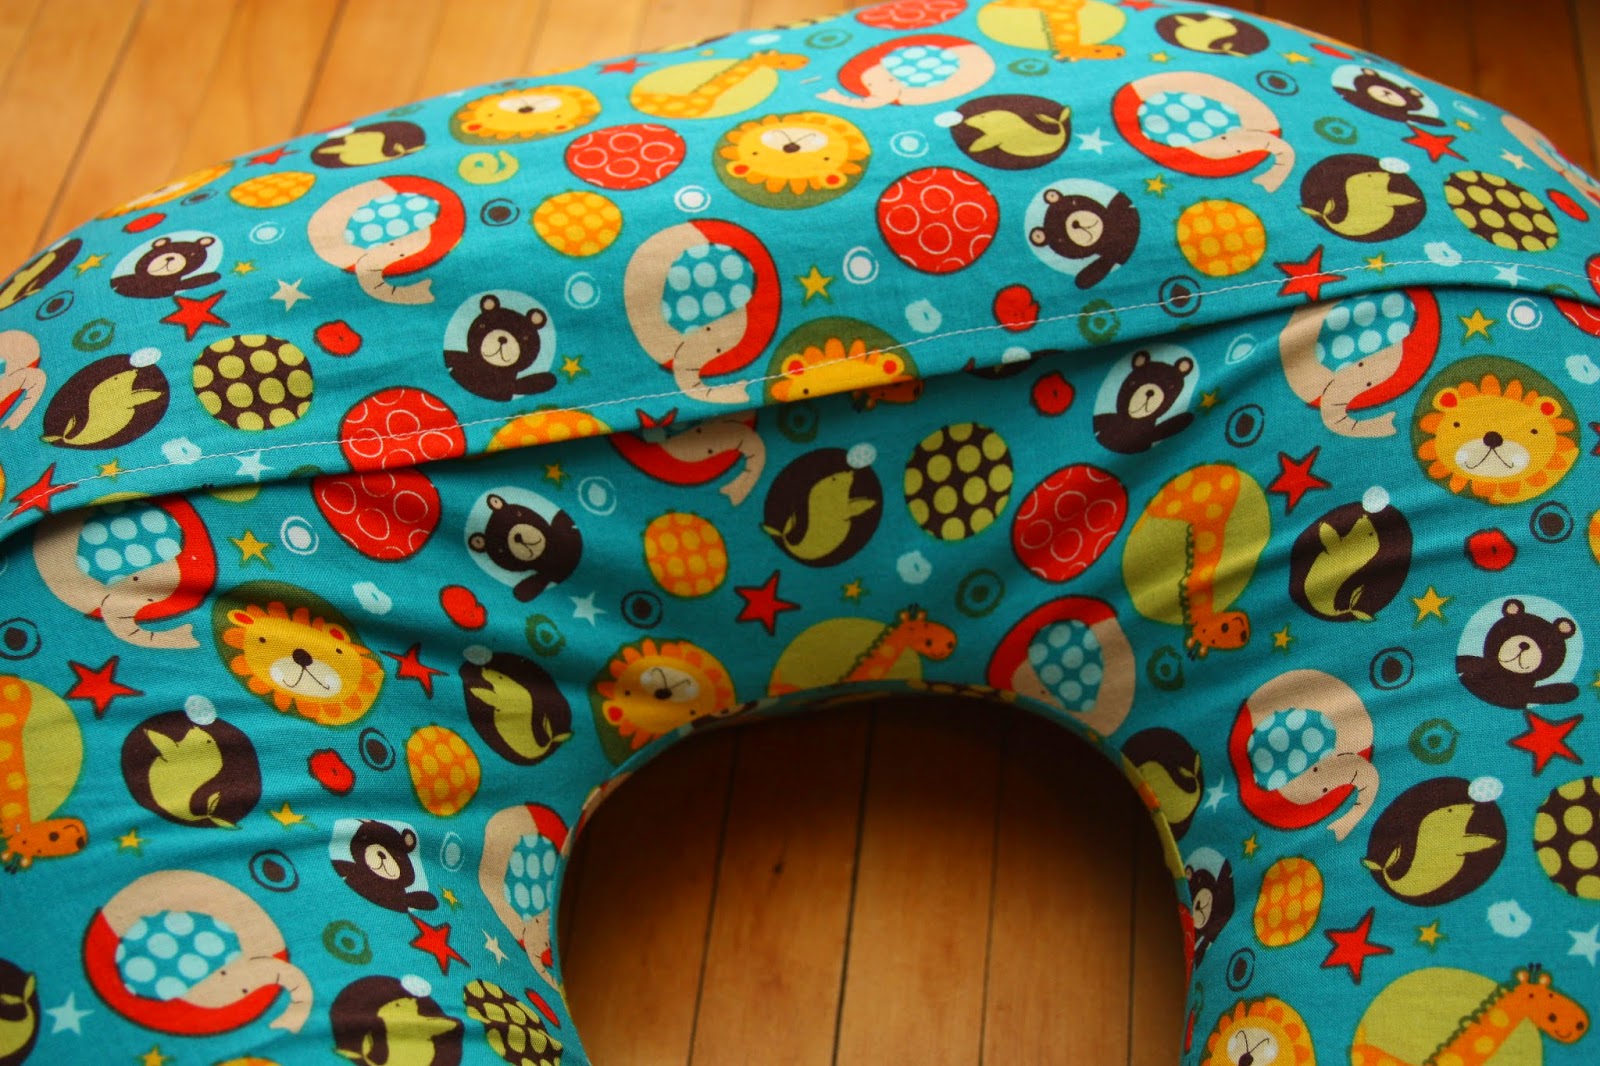
Number 2: Extra cover for my nursing pillow
I used Made by Rae's tutorial for creating a cover from an existing cover. My pillow came with one obnoxiously bright pink cover, so I wanted to make sure I had an extra. It went pretty well and the only modification was using an envelope closure instead of a zipper.


Number 3: A Nursing Cover (aka Hooter Hider)
For this one, I used tutorial from Craftaholics Anonymous, which includes boning at the top. I'm not sure how much I'll use it since I also got an awesome nursing cover at my baby shower that doubles as an infinity scarf and is super cute and doesn't scream "I'm nursing over here" but I hardly cut the Washi fabric to make it, so I figure it could get upcycled down the line.

Sorry for the blurry photo!
And because this isn't a random enough post as it is, I'll also share my toes since I got a super adorable pedicure over the weekend. (It's the little things, right?)


Friday, August 1, 2014

A Quilt for MY baby!

After making lots of quilts and other projects for little kiddos, it was fun to finally make a quilt for my own little one.


It's a basic squares/rectangles in squares layout--a more random version of the Puzzle Box Quilt over at Moda Bake Shop. I quilted each of the big squares with wavy lines using matching thread color.


The backing is an adorable large scale print "A is for Apple."


And a Riley Blake yellow chevron binding finished the whole thing off!


Can't wait to snuggle our little one in this quilt! Only about a month to go!


Tuesday, July 29, 2014

Oops!

I was making another one of those little cardboard boxes for the nursery last night and I had to laugh when I tested it out and saw that it looked like this:


Whoops!

Good thing I have a seam ripper and know how to use it!

Thursday, July 24, 2014

Nursery Rocker

I have 6 weeks until my due date and a bunch of projects to post about (I've been busy!), so here's the first one. We "hacked" an IKEA Jennylund chair to make a slipcovered rocker for our baby's room. I wanted a comfy upholstered/slip-covered rocker but couldn't stomach the price that such a chair would cost from a place like Pottery Barn. But fortunately, moms-to-be on the internet have already solved this first-world problem with an IKEA hack: buy an IKEA chair and attach a swivel/rocker base instead of the legs.

We lucked out and found a Jennylund chair on Craigslist for only $80 and picked up the rocker base for about the same price. Then, my dad and husband got to work on it.


And here it is in the room! (Pay no attention to the boxes on the floor, we still have another piece of furniture to assemble)


Once we told the woman we bought the chair from that we were going to convert her chair into one for our nursery, she threw in a free storage box. I bought an extra ottoman slipcover from IKEA and converted it into a cover the storage box. I'm pretty please with how it looks considering I was just working what I had and making up a "pattern" as I went along. It's also removable so it can go in the wash with the car slipcover when it gets dirty.


And did you catch that ADORABLE koala?? A friend stitched it up for our baby and it's just about the cutest thing!

Sunday, June 15, 2014

Playing in Melted Crayon Rain

Last weekend, Jon and I tried out a fun little crafty project. I saw these cute melted crayon art projects while searching for ideas for our baby's room and we figured to give it try! It's a pretty easy concept: (1) glue crayons to the top of a canvas and (2) apply heat to the crayons so they drip/melt down the canvas.


We thought it would be fun to have the melted drips look like rain and have a couple of kids playing under umbrellas. I found some images online and doctored them to fit my needs and then traced them onto the canvas with a Sharpie.


At first, we used a hair dryer and only covered the kids over their umbrellas. We found the hair dryer to be slow to heat and tough to control, but were encouraged by the result.


Since we were a little disappointed that the rain went under the umbrellas, we tried again with a heat gun (turns out my dad just had one sitting around!) and also covered the kids umbrellas and down the side so rain couldn't slide under. This was a lot faster and more controlled so the rain stayed where we wanted and the crayons didn't get melted together at the top.


I can't tell which I like better and we can't decide which to hang in the room... which do you like better?