
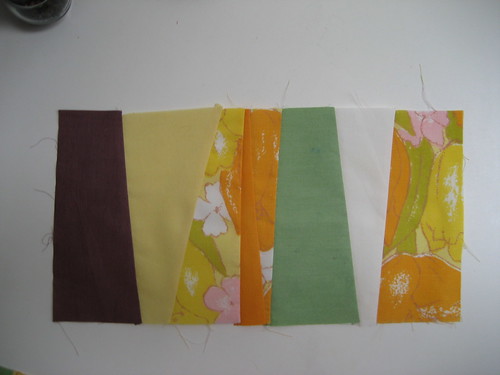
Following Zonnah, I figured I would share how I ended up accomplishing the task. If nothing else, it's a reference for me to go back to. This was my first time doing wonky free style blocks, so I followed the suggestion of another member of the bee on how to do it.
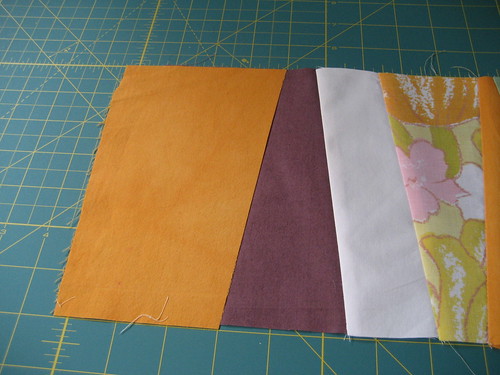
I cut all the pieces I was going to be working with a little longer than the height of the finished block (I cut to 7" to allow some leeway for a 6.5" block)
For each piece, I put the new piece on top of the other pieces that were already pieced. Here the orange piece is new and it's already been cut at angle from a previous step.
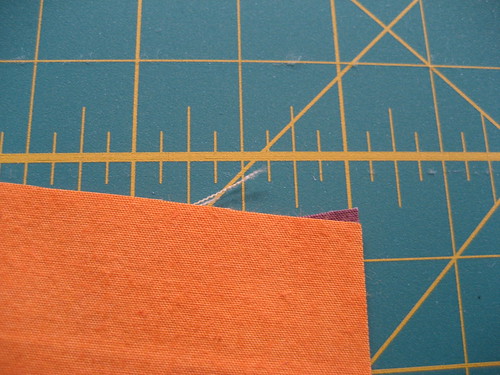
Then I decided how wonky I wanted the seam to be and cut both pieces at that angle (making sure to leave a little extra for the seam allowance.
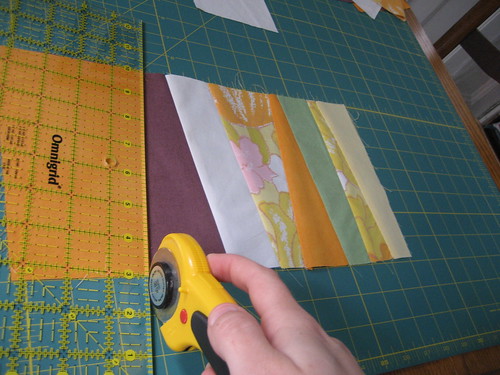
Then I lined up the edges (right sides together) and off set them 1/4" so the pieces would still line up more-or-less straight after I sewed the seam.
After I had all my pieces sewn together, I trimmed the height to the appropriate length (here 6.5"), and called it good. Here are the results:
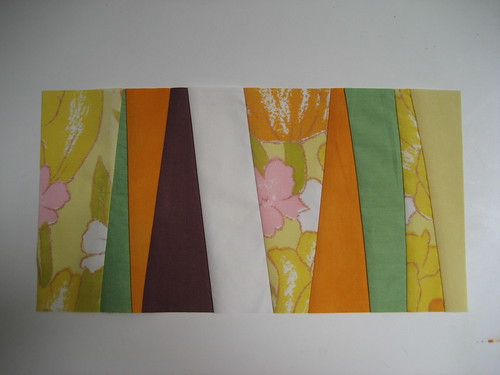
And an extra block that Adrienne said she's going to trim for another part of the quilt.


That's a nice combo of fabrics with the vintage piece! Good for you for trying wonky.
ReplyDelete