
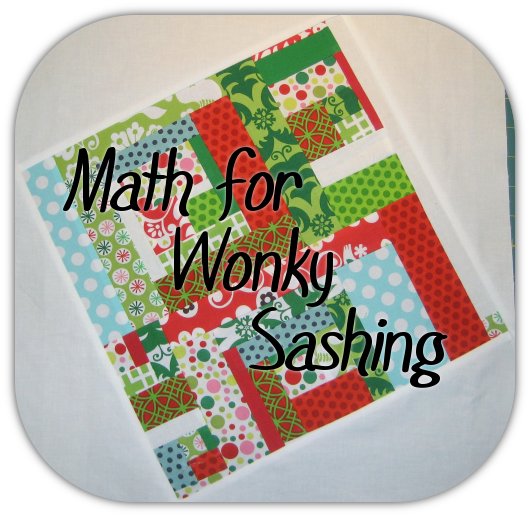
I'm loving the idea of having a lot of the blocks in my Christmas Threads quilt (like the name?) being wonky, but it also requires a bit more math than doing them completely upright with straight sashing. Since I worked out the math, I thought I'd share to save some of the hassle for anyone else that wants to give it a go.
Before I get going, I want to mention that you can do this the slightly more straight forward way that QuiltDad talks about in his tutorial for wonky log cabins. With this method, you sash the block with straight strips, then turn the block to your desired wonkiness and trim the excess. I decided not to do this since I'm worried about fabric waste (I don't have that much white left) and all the bias edges for putting together the new blocks into rows/columns, but it would work really well if you don't want to do the math and don't mind all the bias edges.
I'm first going to explain how to do the math generally and then show you how it worked out for my blocks. For your blocks, you'll first need to figure out how much you want to rotate your blocks, either a little bit (closer to 0 degrees) or a lot (closer to 45 degrees).

Then you need to figure out how big the triangles will need to be based on how much you want to turn your block. "Y" is going to be the length of one side of your finished block (for me this is 12") and here's what I mean when I say short side and long side:

short side = sine (angle of rotation) * y
long side = cosine (angle of rotation) * y
Add these two together for the size of your finished sashed block.
OR you can also look up some of these multipliers in the table below so you don't have to calculate any sines and cosines. Again, you add the short side + the long side to get the size of your finished sashed block.
 |  |  |  | |
Once you know the finished dimensions of your triangle, you need to add 7/8" (at least 1" to be safe) to each dimension (like a half square triangle). Use these two dimensions to cut a rectangle. Then cut this rectangle in half along the diagonal and it should be the right size.
Sew the triangle to your block with a 1/4" seam allowance and be careful with the bias edge. After you attached all four triangles, you can then square up all the blocks and no bias edges should be exposed.
-----------------------
For my quilt, I'm going to turn the blocks 25 degrees and I have 12" (finished) blocks so I calculated these values for the (finished) triangles:
short side = 5"
long side = 10.9"
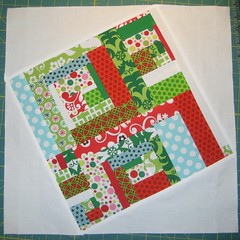
After adding an inch to each dimension (my 1/4" seams aren't always that perfect), I cut rectangles that were 6" x 12". After adding the triangles, my blocks were about 16.5" square. This will yield a finished block that is 16" when all pieced together.
-----------------------
Hopefully this made sense and is helpful. Let me know if you have questions or if you want help figuring it out for one of your quilts!


I saw this post and got a good chuckle! My husband is a PhD in math and our daughter is a math major. I never took math beyond high school geometry so just seeing the words sine and cosine are enough to make me panic!
ReplyDeleteWhat are you getting your graduate degree in?
You got to love math :)
ReplyDeletewow!!! you rock!!! thanks so much for completing the hard parts. this is going to be beautiful
ReplyDeleteAmazing! I'm with Anne- 10th high school geometry, and elementary math in my MA Ed program were it for me! (And a pre MA "math anxiety" weekend class...) So the idea of figuring all this out, well, you amaze me!
ReplyDeleteWell, good for you..although you sort of lost me after the first paragraph. LOL I guess when you're figuring out math for your own project it's easier. Funny thing is that I can do exactly what you did on my own stuff, but am perplexed hearing about others. :) Who knew that quilting was such a challenge for the mind too??
ReplyDeleteWhoa! Sine and cosine plowed thru 45 years of memory to bring on an instant anxiety attack! I'm actually amazed that they were even retained in the ol' memory bank. lol Good job! It is going to look wonderful!
ReplyDeleteThat's totally awesome!!! It has been so long since I've done any real math - I love this! And thanks for the handy dandy chart. I don't even have my nice graphing calculator anymore - who knows if I can even find one with a sine button in the house!
ReplyDeleteYour math skills impress me (along with that quilt!!)
ReplyDeleteI think my eyes have glazed over a little. But I blame being pregnant and tired. :P I'll definitely be coming back next time I want to try this-- I really appreciate that you've taken the time to account for avoiding lots of bias. Thanks for this awesome tutorial! :)
ReplyDelete