This week's assignment for my DSLR class was to experiment with our camera's white balance settings. It is definitely worth it to take a few minutes to see if you can adjust this on your camera and how to do it. For me, I have some good presets (like Tungsten and Florescent), but my sewing space has a combination of incandescent and compact florescent light bulbs so I tried out the custom setting. This was as easy as taking a picture of a white piece of paper in the weird lighting and telling the camera to base its white balance off of that picture.
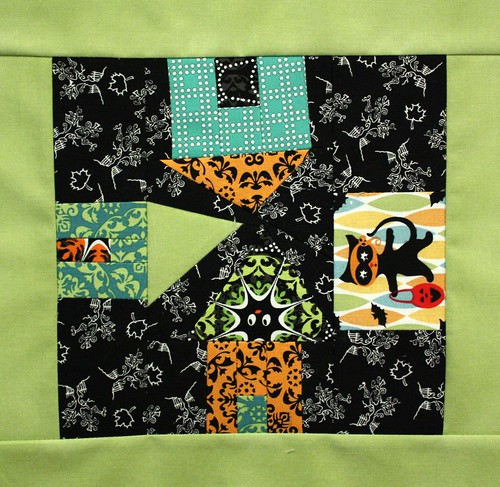
Here's the picture from my last post that I took after creating a custom white balance setting (taken without the flash):

Here is the same shot but using all of the other preset white balance settings on the camera (again without the flash)... see what a difference it makes?


I use my white balance all the time. Recently I realized that if you are taking multiple pictures over a period of time and are in a room with outside light as well as bulbs, redue your white balance periodicaly. I learned that the hard way :(
ReplyDeleteWow! Especially after I spent the afternoon trying to get my ticker tape quilt to show true colors with Photoshop. Still didn't get it right. You certainly got your setting perfect!
ReplyDeleteI'd forgotten about that setting. Thanks for the reminder! I must try adjusting it on my next lot of photos...
ReplyDeleteAre you photographing in RAW? One of the advantages is being able to adjust your white balance in post-processing if you forget to change it at the beginning. Your shot with the custom white balance looks excellent!
ReplyDeleteI need to get out my manual to play around!
ReplyDeletebig difference.. my brother taught me all about this.. but i still get a bit confused!
ReplyDeleteUmmm..., I've never used white balance on my camera. have to find it tonight...
ReplyDeleteOkay, I've GOT to work on that! Especially with all the fabric pics we take! Thanks for inspiring me to spend some time on this.
ReplyDelete