

As part of Sew Mama Sew's Sewing Machine Month, they're doing a special blog post on how to do buttonholes (if you haven't checked out Sew Mama Sew, you should!). They're linking to a few different blogs that show how to use the buttonhole attachments for different brands of sewing machines. Here's how to use the buttonhole attachment for my Husqvarna/Viking machine.
I have a Husqvarna/Viking Scandivania 100 with a 5-step buttonhole feature.
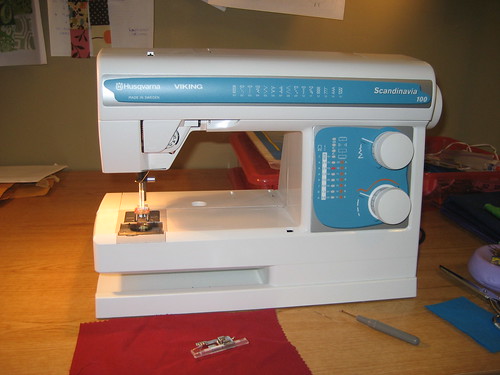
Presser foot "C" is the buttonhole attachment.
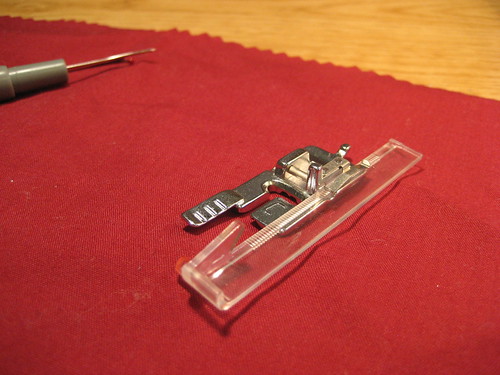
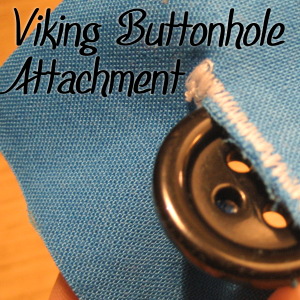
In order to get a buttonhole that is the right size, you need to take the button that you want to go through this buttonhole and place it between the two guides on the attachment.
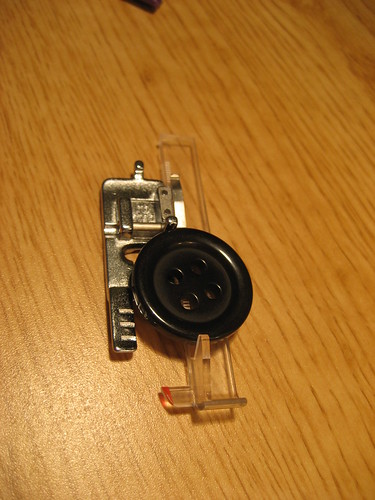
You can either do this before you attach the buttonhole attachment to the machine or after it's already attached to the machine. Either way, be careful not to bump it after you've removed the button.
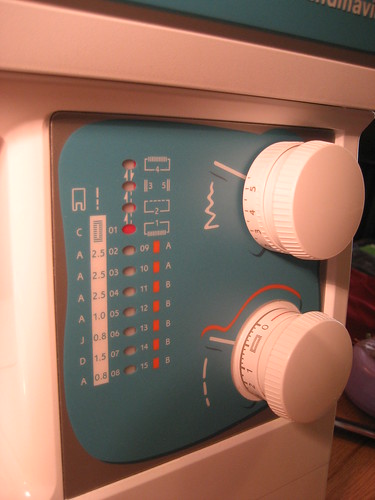
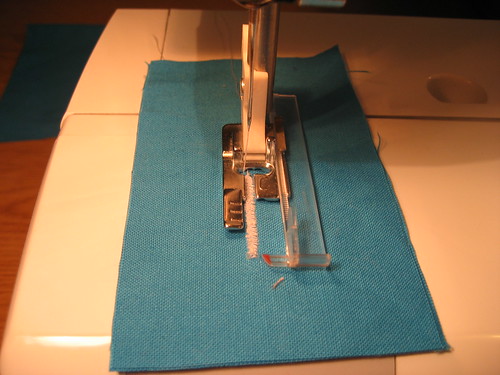
Here's what my machine looks like when it's set up for the first step of the button hole. The orange dot on top tells me it's on the first step for the buttonhole and I have the stitch length set for a buttonhole.
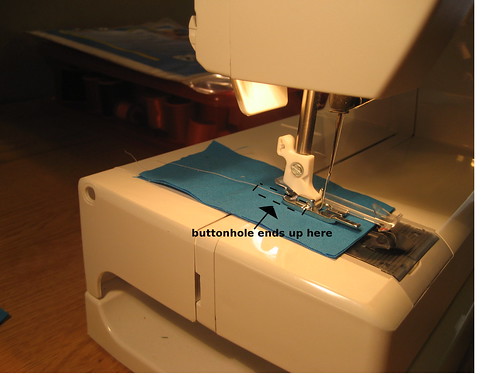
When you put your fabric in to make the buttonhole, remember that the buttonhole will end up behind where you're starting. This is the opposite from normal, so I often forget this.
When you use the buttonhole feature on your machine, you should do the first step of the buttonhole (creating the left side) until it touches the red notch on the buttonhole attachment that was set by your button earlier. This is what that looks like on my machine.
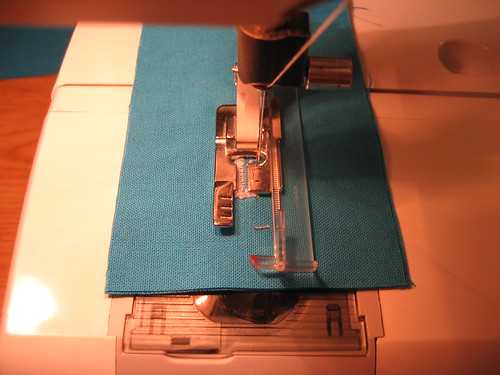
When you get to the step on your machine for creating the other side of the buttonhole (for me, this is step 4), you are supposed to keep the left side in the opening of the buttonhole attachment. I find it easier to open the buttonhole if I keep the left side of the buttonhole a little off center of that opening.
If you measured your button correctly, when you get done, your button should slide easily through the buttonhole!


Oh, I will be watching sms for the tute on a singer then! you put together a nice tutorial!
ReplyDeleteI'm going to have to check out that link. I don't have an attachment for my machine, but I think I need one.
ReplyDeleteMy C foot doesn't have that super cool plastic part... Is yours all one piece or does the plastic part come off? I may have to see about finding an upgrade for my foot.
ReplyDeleteDogwood: I was thinking the same thing! What's that cool plastic piece?! I'm interested in getting that for my C foot, if possible.
ReplyDeleteTo Rochelle & dogwood: my presser foot came that way. Maybe the newer machines have a different design to that part, but I'm sure you could get a replacement that would have it. My machine is about 3 years old.
ReplyDeleteI have a Scandinavia 200- When I make a buttonhole, I always make the stitch width a little wider and the stitch length a little shorter so I'll have a nice buttonhole with plenty of coverage. I also bump the tension up a little.
ReplyDeleteThanks so much for the great tutorial.
ReplyDeleteHi Kris, I can't tell you how I appreciate your tutorial. I have the same machine. I'm making a jacket with buttonholes to wear for Easter. I've always stayed away from any pattern with buttons, but I think that I now have the confidence to give it a try.
ReplyDelete