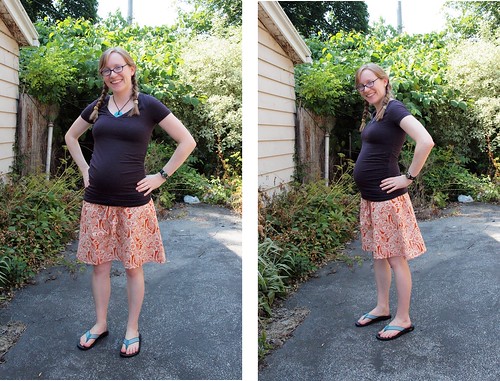
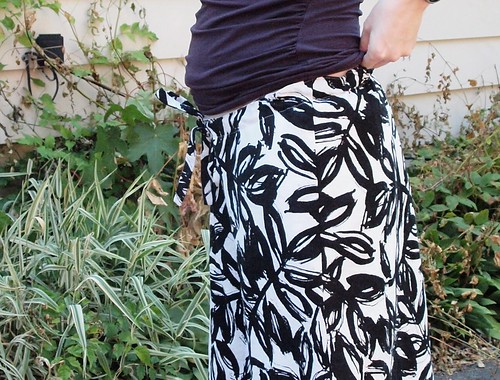
Since we're planning to make some more, I thought I'd write out our tutorial here so we have it for later and maybe it'll help someone else (if the instructions don't make sense, let me know). First, we bought 1 yard of fabric which was enough for us since Whitney is fairly petite pre-pregnancy and not particularly tall. The orange skirt above was typical cotton 44" wide fabric and the other black and white one we made with a linen type fabric from Joann that was a little bit wider, so the skirt turned out longer. We also bought another yard of a muslin-type white fabric for lining. If you want to make a bigger, fuller or longer skirt, you will probably need 2 yards of each fabric.
To figure out how big to make the skirt, we measured Whitney right below her belly figuring this was the widest part we were going to go around. She measured 38" so we used these measurements to create a 38" waist at the top and a little more fullness towards the bottom (keeping in mind 1/2" seam allowances):
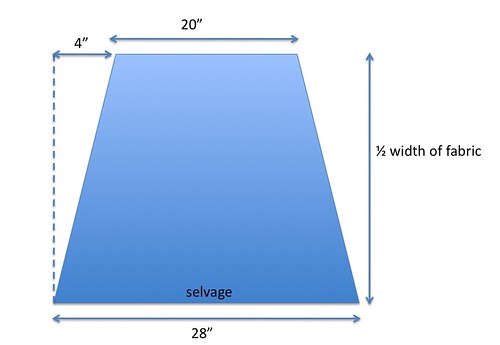
Then we cut out a matching piece of the lining fabric using the outer skirt piece as a pattern since the lining fabric may be shorter or longer.
After cutting, we sewed the sides of the lining and outer skirt pieces with 1/2" seams and then zig-zag to reduce the chance of fraying.
Next we put the lining and outer skirt together right sides together (one inside of the other) and folded it in half so the seams were touching. This is when we created space for the belly. We measured the height difference between the bottom of her belly in the front and where she wanted her skirt to sit in the back (about 3.5-4"), then cut that much fabric out of the FRONT half of the skirt only.
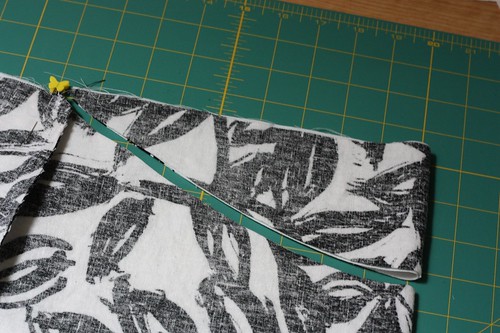
Once we cut the belly piece out, we sewed the lining to the outer skirt at the waist using a 1/4" seam. Then we flipped the skirt right side out and top stitched at the top of the skirt:
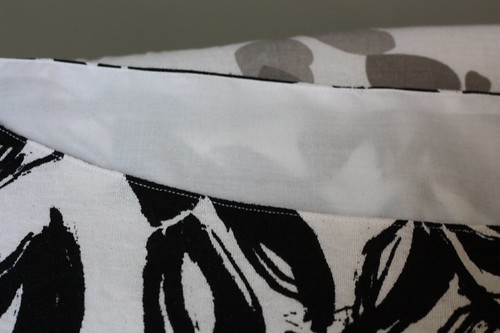
Then we put in two button holes (only through the outer skirt fabric!) for the draw string
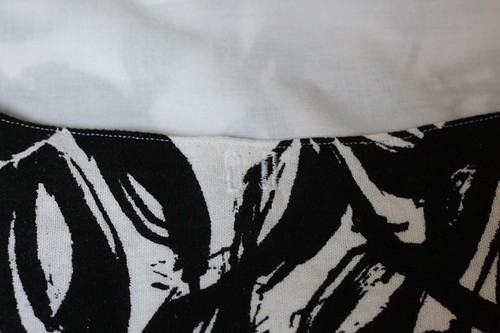
Then we did a line of stitching to complete the draw string casing
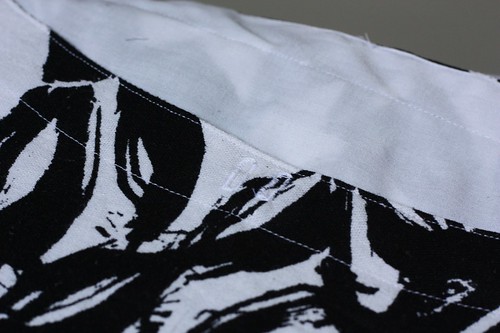
And finished by hemming the bottom.
To make the draw string, we cut two pieces of fabric 2" wide and about 25" long. We folded each piece in half (the long way) right sides together and sewed along two of the open edges. We turned them right side out and pressed flat. Then sewed a 6-8" piece of elastic between the two drawstrings:
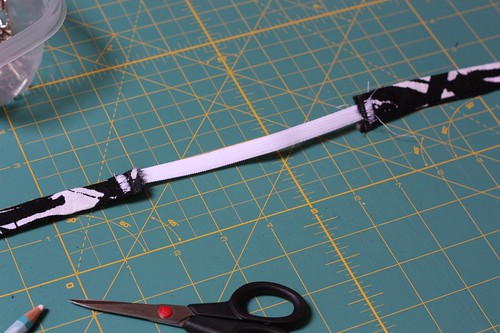
Thread the draw string through the skirt and you're done!
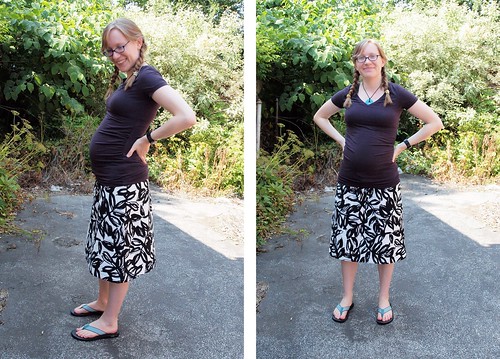
From start to finish, the first one took about 2 hours and the second one only an hour and a half. Not bad for a $6 skirt! :)






Cute! I wish I sewed back when I was pregnant. I would have made a dozen skirts. She'll love them.
ReplyDeleteThat's a great idea! I would have loved this last summer, though I wasn't much for sewing when I was pregnant.
ReplyDeleteLove this. Both of them are so cute. I'm a few weeks behind Whitney and I'm definitely going to make one of these. Thanks for the tutorial!
ReplyDeleteWell done! They look so cute!
ReplyDeleteSuper cute and practical too! Great tutorial.
ReplyDeleteWow, Kris. Those look really cute and fit her so well. You did a great job explaining how you did it, too.
ReplyDeleteI like how it goes under the belly! I remember liking having my belly free instead of smashed under fabric!
ReplyDeletethis technique is awesome!! I am 20 weeks pregnant now and took some of my old skirts that were too long and cut off the top and make that curve for the belly and put a casing for a drawstring...i now have 3 - 4 skirts....thanks for the cool idea...i cant stand having anything binding on my tummy!!
ReplyDelete